This is an excerpt from the Book called “Making Concrete Countertops” by Buddy Rhodes. Continue reading to learn more about Building A Vertical Mold, thanks to the author.
Building A Vertical Mold
The Center Unit
In This Section we will form and build the melamine mold for the smaller center unit. We will draw an outline of the side profile, front, and back pieces with pencil, and proceed to cut out pattern pieces with pencil, and proceed to cut out pattern pieces based on our design plan. Step-by-step, we will put together our center unit mold, providing the outside form for our keystone piece.
We do the sides of the smaller, center mold first. This section right here is our profile. I’ll cut out two of these first. The profile pieces of the center unit are measured and drawn onto a piece of 4’×8’ foot melamine with pencil.
The straight lines of the mold are cut on the table saw.
The angled cuts of the mold are then cut out with a hand-held circular saw. The saw is set so that it cuts just slightly deeper than the 3/4“melamine.
Cut out the corner notch that will form the ledge to support the sink counter cut, using the circular saw. Cut just to the line.
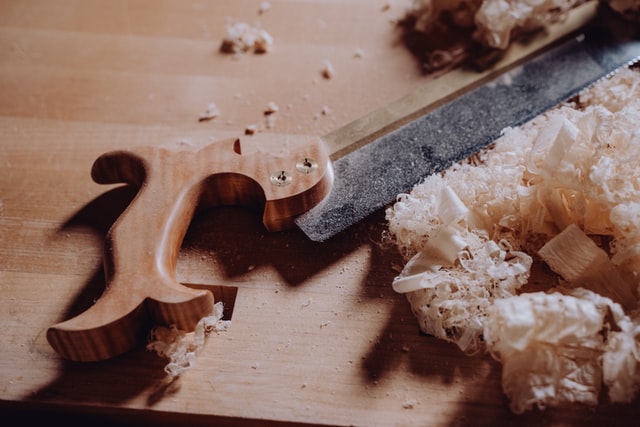
A handsaw gets the final cut in the corner.
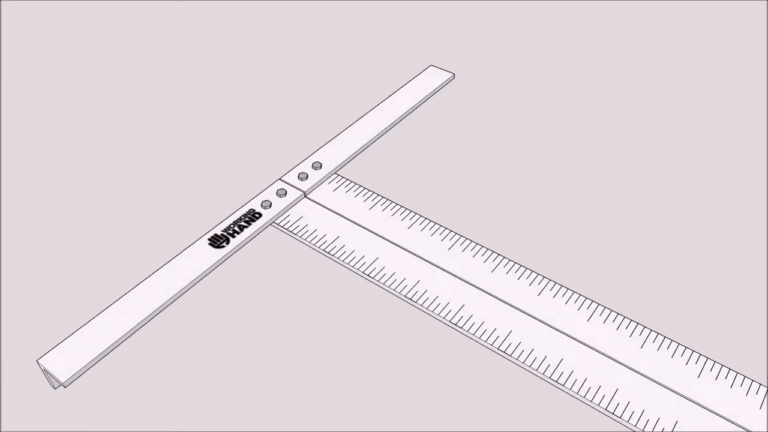
On melamine, plot out the front and back pieces of the unit mold using pencil, tape measure, and T-square.
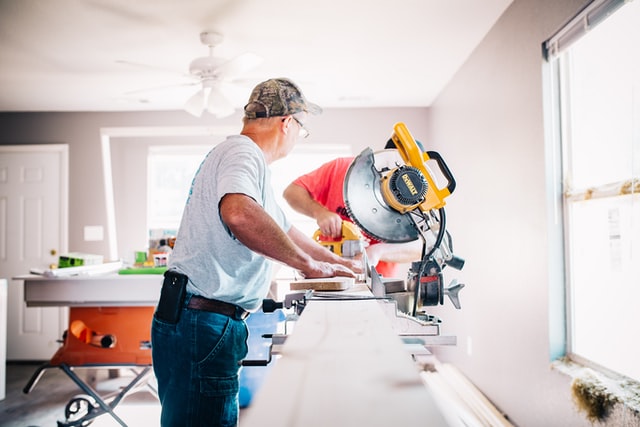
The pieces for the front and back are all the same width, so a melamine board is cut to size on the saw.
Use the circular saw to cut out the profiles of the front and back mold pieces of the center unit.
Using a strip of melamine board, mark where the overlap will be when it is attached to the end piece when the mold is assembled.
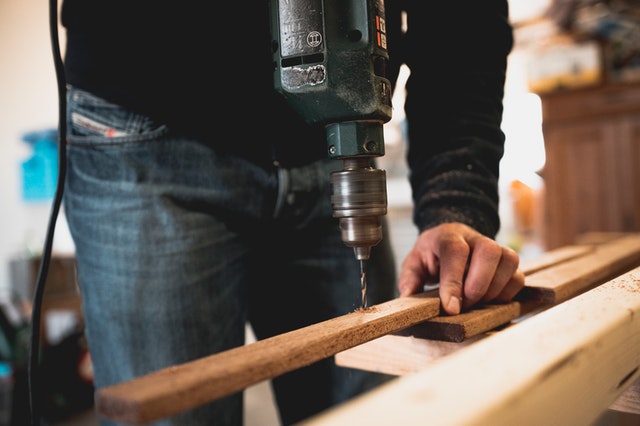
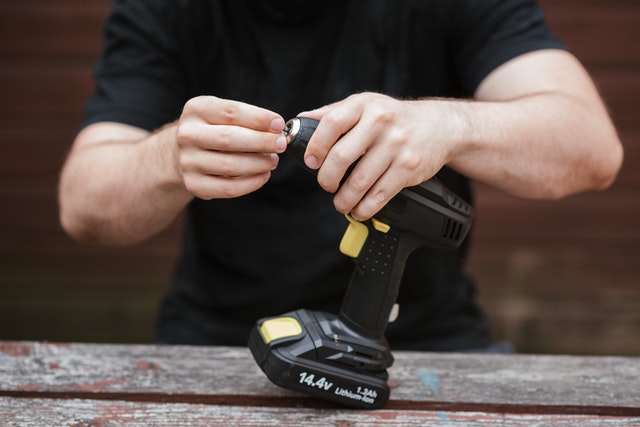
Use a countersink drill bit to pre-hill holes along the sides about six inches apart.
The back side of the center unit mold is assembled first.
The center unit is turned over, and the front is test fitted.
The front was cut too long on purpose in order to compensate for the angle needed on the cross cut. After a test fit, the overhang is marked with a pencil…
…and cut to fit, adjusting the angle of the saw blade to get the beveled cut. The front is screwed on to the assembly and we flip the piece over and get to work on the back again.
Carefully measure for the shelf pieces.
A piece of melamine is cut to fit the shelf face.
The screw holes are marked with a pencil…
…and pre-drilled on a drill press.
Measurements are made for the shelf. Again, a piece is cut to fit, tho drill holes marked and countersunk before assembly.
Lay the shelf piece on its side and stand the face piece along one edge. Attach the face piece to the shelf piece, screwing through the face piece.
Put the shelf assembly into place. Pre-drill and countersink screw holes…
…and attach to the mold.
The top piece is measured, cut, and attached to all but the front panel, which will be removed for the pour.
Square the mold using a carpenter’s square for accuracy.
Turn the mold upside-down. Bottom up, we only need a frame around the base for the 2” wall thickness at the base.
Because we want a 2” lip on the bottom of the mold, we cut melamine strips that are 2-3/4” inches wide to allow for the thickness of the melamine mold walls.
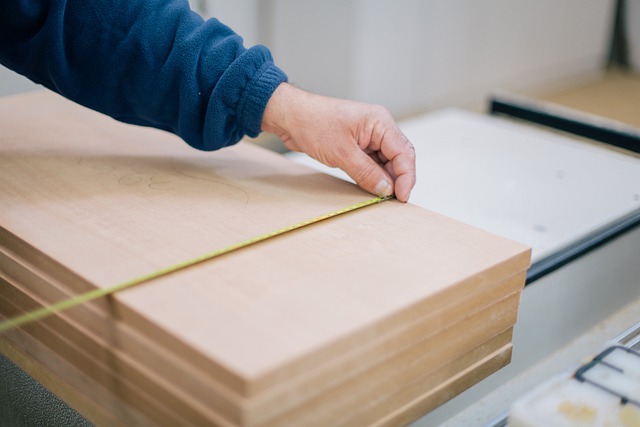
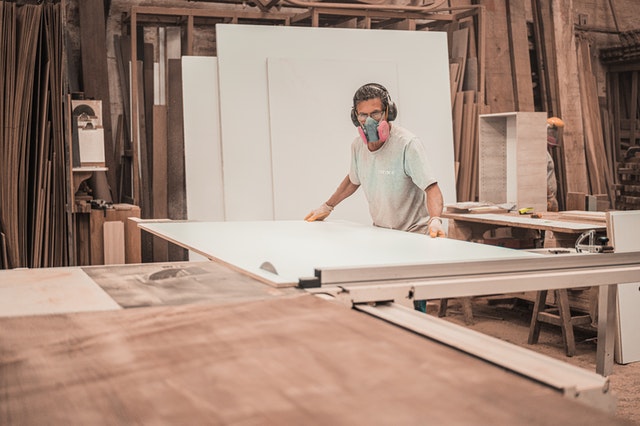
The 2-3/4” inch melamine strips are cut to length and attached to the base of the mold, via pre-drilled, countersunk holes.
The mold for the center unit in the sink surround is almost complete. The front piece will be removed for the packing process and then reattached while wet.
Filling
Countersink Holes
Filling Countersink Holes and exposed board ends with Bondo prevents the concrete from sticking to the raw molding and prevents unsightly seams. On these pages I have illustrated Bondo application techniques, which we will then apply to our mold.
Mix Bondo body filler with cream hardener.
Use a 2” putty knife to integrate the ingredients.
Apply the Bondo mix to exposed edges of melamine board and fill the countersink holes on the insides of the mold.
Use a 6” putty knife to achieve a smooth finish.
After curing and sanding, the joint is ready for packing with concrete.
Fill all of the countersink holes and exposed ends on the center unit mold you’ve created. After curing for one hour, sand the Bondo surfaces smooth with a palm sander.
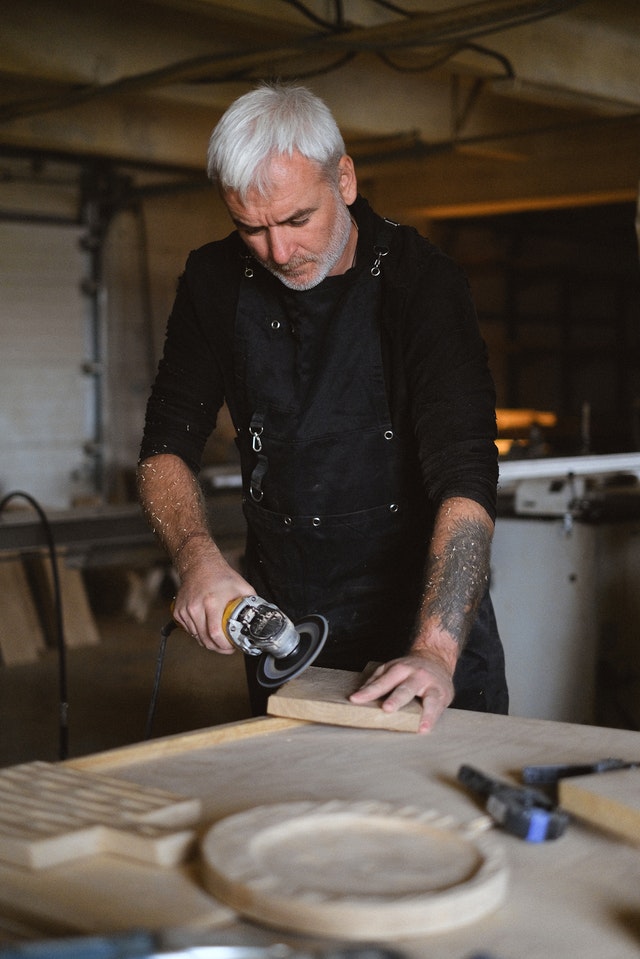
Cut two strips of 3/4″ plywood, ripped 4” wide, at a 45° angle and attached to the center mold to provide support for the vertical casting. Be sure to attach these supports with screws that will not penetrate through to the inside of the mold.

