
This is an excerpt from the Book called “Home Repair And Improvement“. Continue reading to learn more aboutCabinets & Counters, thanks to the author.
Cabinetry Basics
Cabinetry projects amount to high-end carpentry—not art exactly, but they tend to be both more complicated and more exacting than other home improvement jobs. After all, it takes a fair amount of skill, and the right tools, to make cabinet drawers that slide effortlessly, doors that swing closed smoothly, and joints between the cabinet’s many wood parts that are strong, straight, and tight. Well-crafted cabinet-work can make a room, though, and in kitchens especially, new cabinets and countertops will increase the value of a home.
You can avoid a lot of work by purchasing factory-made cabinets and counters—you just attach the units to the walls and hook up the plumbing and electrical outlets. But whether you go with prefab cabinets or build them yourself, the first step is selecting the materials. On cabinet faces, there is a basic choice between solid wood such as oak and composites such as particleboard covered in plastic laminate.
Counter materials must be resistant to damage from impacts, burning, cutting, and moisture. Granite may be the ideal material, but it’s also the most expensive. Modern plastics—both thin laminates and thicker solid forms—are more affordable choices, and by far the most commonly used. Less common are concrete (with many of the positive aspects of granite or marble but without the looks) and solid wood, which makes attractive but high-maintenance countertops.
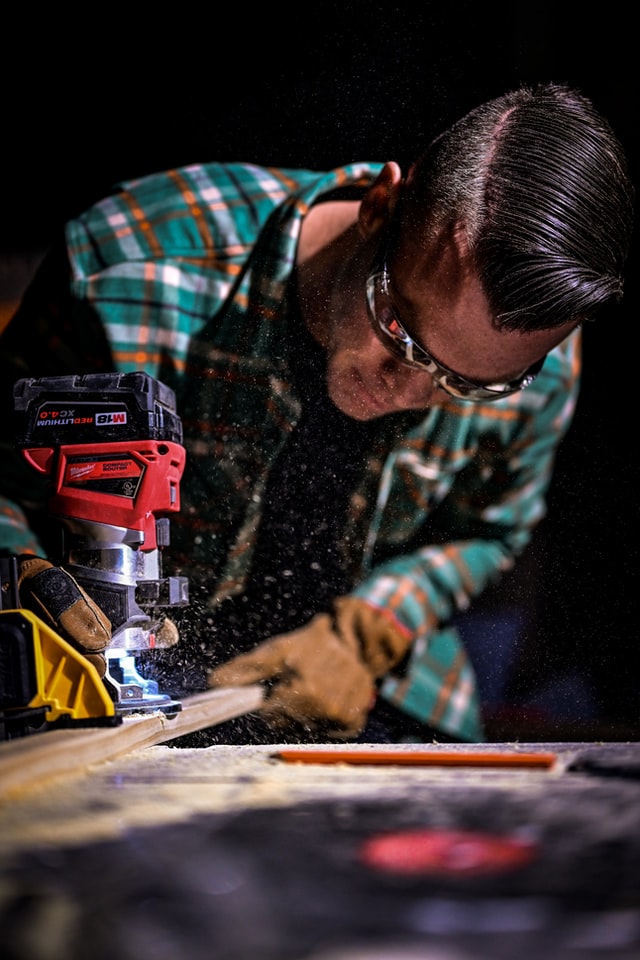
Special Tools
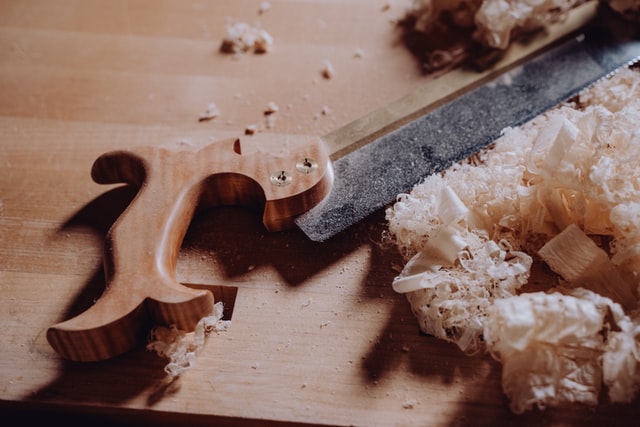
What tools you’ll need for installing cabinets depends upon how you’ll be doing it: Cabinets from a kit will require a power drill/driver, clamps, a 4-foot level, and a few other simple tools. If you’re making the cabinets yourself, a table saw, router, and electric sander will be indispensible items.
For a custom laminate countertop, you’ll also need a saber saw. Laminates should be cut only with very sharp tools. To avoid exposing the dark substrate material under the color surface, countertops and edgings normally are installed with a small overlap and then trimmed using a router equipped with a ball-bearing guide to keep the high-speed bit’s friction from scorching the laminate.
Tools & Materials
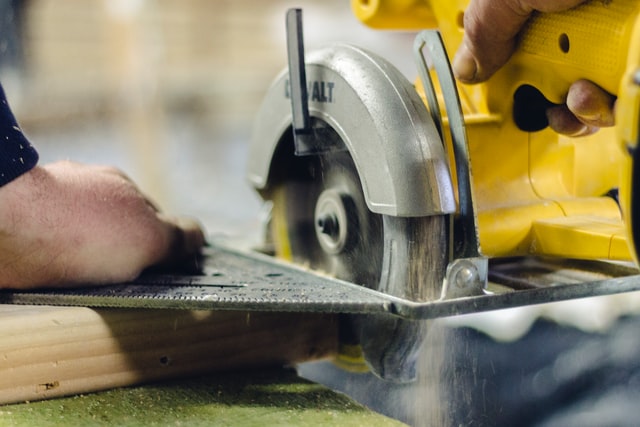
Table Saw Safety
Turn the saw off when you finish a cut; unplug it before adjusting the blade. Never reach across a moving blade4; stand to one side when cutting. Never feed in stock or clear wood scraps freehand; use a push stick and feather boards. Cut knotty or warped wood by hand.
The blade guard is a movable plastic shield that covers the saw blade. Use it whenever you make a through cut—it will keep flying dust and debris out of your face and prevent your hands from accidentally touching the blade.
A feather board is a thin board, the ends of which are cut like a comb. It clamps to a table saw to keep stock under control and moving in one direction. Use one to keep the stock from lifting up and another to keep it against the rip fence.
A push stick has a handle at one end and is notched at the other to fit against the edge of your stock. It should be used to push stock through when cutting, enabling you to keep your hands well away from the blade. If you make one, use solid wood or thin plywood.
Sheet Materials
The easiest way to check whether sheet materials are warped or damaged is to lay them flat on a concrete floor (preferably before you buy them). Remember that these sheets are almost always 4×8 feet—if you don’t have a truck or van that can transport them, try to find a lumberyard or home center that will deliver them. (Most will deliver large orders.) Tying them to the roof of your car can be not only nerve-racking but dangerous. Another option may be to have the lumberyard or home center cut the panels for you. Just supply them with your cut list of a set of plans. It’s inexpensive, it’s great if you don’t have a table saw, and you’ll be able to fit the stock into a much smaller vehicle.
- Plywood, made from thin layers of wood veneer, is sold in 4×8-foot sheets. It’s much cheaper than solid wood and (because of its lightness and flexibility_ better suited to cabinetry.
- Applications: Construction (softwood) ply6wood is used to form the carcasses of cabinets and for the undersides of countertops. Thin (1/4-inch) hardwood plywood is used for decorative purposes, much like a veneer—not for frames.
- Particleboard, wafer board, and oriented-strand board (OSB) are usuall7y cheaper than plywood and are better for making counters than cabinets.
- Applications: These boards are often found beneath countertop laminates and furniture veneer. They don’t take screws or nails well (tending to split and crumble); it’s better to join them with rabbeted joints and glue.
- Hardboard, also known as fibreboard, is made from wood chips and fibres, held together with phenol-formaldehyde glue
- Application: Hardboard comes in several types. Standard has one smooth side; prefinished has one painted side. Plastic-laminated has a laminate cemented to one side, making it useful for DIY cabinetmaking.
- Lumber is used less than manufactured sheet materials as the sole material for cabinets because of the expense. It does, however, make beautiful, extremely sturdy cabinetry.
- Applications: Cabinets are often made from a cheap grade of wood covered n veneer: wafer-thin sheets of high-quality hardwood, such as mahogany, walnut, and bird’s-eye maple. The solid knotty pine of traditional country cabinets is easy to work with.
Cabinets & Coomb
Cutting & Edging Plywood
- Before you cut plywood with a saw, first score along your cut line with a utility knife to prevent the surface from splintering.
- When using a power saw, cut plywood with either a carbide-tipped or a fine-toothed plywood-cutting blade.
- Use adhesive-backed veneer tape (applied with pressure or heat) to cover end grain and create the look of solid wood.
Doweling
- To connect edges of panels or boards with dowels, use a doweling jig to bore matching holes in mating edges.
- Doweling jigs have guide holes in several diameters to guide the right-sized bit into the edge of the board.
- Add glue to the dowels, tap them into one set of holes, and then glue the exposed ends clamp the mating board in place.
Cutting Dadoes
- To cut channels in wood, the best option is a table saw, but you can use a circular saw with a rip guide.
- Set your blade depth, and adjust the rip guide to cut first along the inner edge, then along the outer edge of the channel.
- To clear wood from the channel, make several passes with the saw or chisel the scrap. Fasten the board to the worktable.
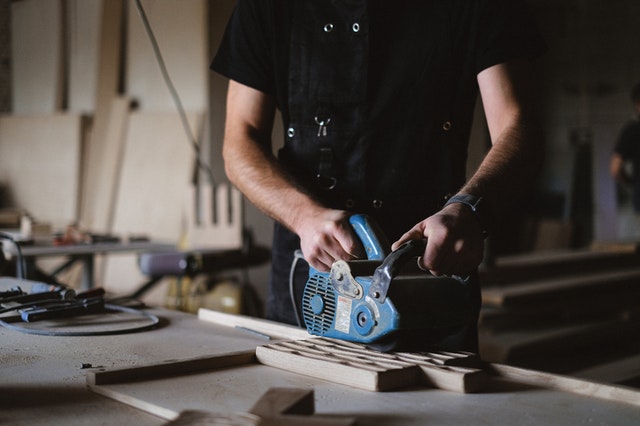
Basic Techniques
Making Biscuit Joints
- 1. Biscuit joinery is the easiest way for DIYers to make professional wood joints. Start by marking centrelines over the joint.
- Biscuit cutters line up with your marks. Adjust the blade depth to cut a groove in the middle of mating edges.
- Biscuit wafers glued in Place Bridge the clamped joint. The compressed wood wafer expands when glued, so work quickly.
Alternatives for Cutting Rabbets
- With a table saw, you can cut dado grooves with a special cutter in one pass or make several passes with a standard blade.
- With a circular saw, raise the blade, cut the edge of the dado using a guide, and make repeated passes to clear the groove.
- With a router, you can install a bit that’s as wide as the groove you need. Test the width on a crosscut before dadoing.
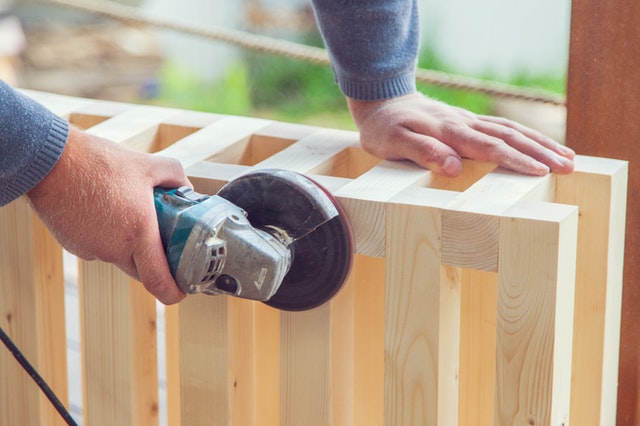
Alternatives for shaving & Sanding
- Electric-powered planers take the effort don’t of planning boards. You can set the blade for heavy trimming or light smoothing.
- The old standard, a hand-powered plane, also will smooth and true up the edge of a board. A sharp blade is essential.
- A belt sander also can trim and smooth. Use a coarse—grit belt to remove wood and a fine-grit belt to finish the edge.