This is an excerpt from the Book called “Easy Concrete “by Malena Skote. Continue reading to learn more about Garden Tiles , thanks to the author.
Concrete is a resistant and durable material, perfect for use on paths and outdoor areas. For small spaces you can cast unique tiles and experiment with molds and patterns using leaves or mosaics.
The simplest way to make molds for tiles is using plastic containers, and then it is really easy to cast tiles—just place all the containers on a level surface, mix a good portion of concrete to pour into them and wait two days. However, try to avoid using cookie tins as they can create rounded corners on the finished tile. Also bear in mind that reliefs and punched company designs or trademarks on the bottom of the container will leave impressions in the concrete.
If you want to make tiles with tighter designs, sharper corners and perhaps in larger sizes, you can make frames out of wood. Smooth tiles can be made by casting upside-down against a smooth and level bottom layer in the mold.
Gingerbread in the Greenhouse
I cast tiles for the pathway through May greenhouse in a small wooden frame with a formwork plywood base. I bought the gingerbread molds at a flea market.
Mold
Leftover pieces of formwork plywood
Gingerbread or other cookie cutters
Weight, such as a stone or brick (needs to be larger than the cookie cutter)

Materials
Transparent silicone (if needed)
Fine concrete
Oxide red pigment
Tools
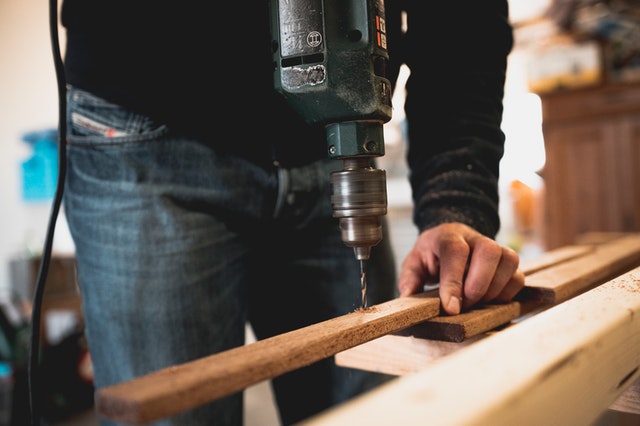
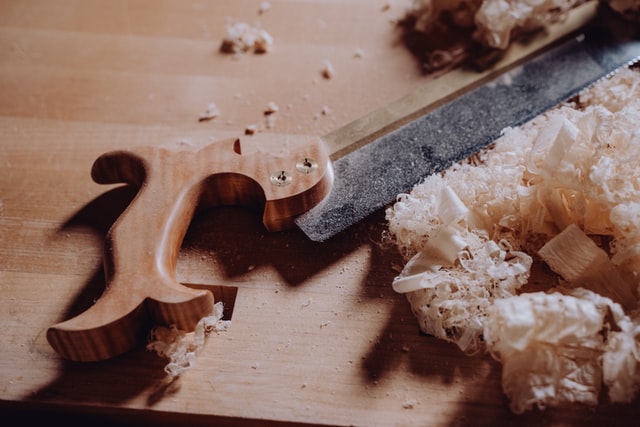
Saw
Screws and screwdriver
Mixing pail
Trowel
Plastic sheet
Thin steel spatula or knife (if needed)
File
Instructions
- Saw the pieces of plywood to the required size. Do this carefully—the more precise and tight the mold is, the better the corners and edges of the tile will look. Screw the mold together well so there are no gaps. (If gaps do appear, cover them with transparent silicone.)
- Place a cookie cutter in the middle of the wooden mold. Mix a little concrete and add a drop of pigment so the paste turns red. Fill the cookie cutter with the red concrete and place a weight on top. Wipe-up any red-colored water that leaks out from under the cookie cutter. Leave to harden for a few hours.
- Mix a few quarts (liters) of dry concrete with a little water until the mixture forms a firm consistency that can be shaped into a ball. Pour the concrete into the wooden mold so the cookie cutter is buried. As a guide, a tile that is 12×12 inches (30.5×30.5cm) ought to be at least 1 ½ inches (3.8 cm) thick. Press down using a trowel so the concrete gets into the corners. Shake the mold lightly so that the air bubbles come to the surface. Cover with a plastic sheet and leave to harden for two days.
- Unscrew the mold and pull out the tile. If it is stuck, slip in a thin steel spatula or knife and loosen it. File away any concrete that has slipped out from between the joints. The cookie cutter should not be visible and can remain in the tile.


Floor with Creeping Vines
I wanted to make a floor for my greenhouse using 12 concrete tiles, 1 ½ inches (3.8 cm) thick and 12×12 inches (30.5×30.5 cm) square. I screwed together a lattice framework with six compartments so I could make six tiles at a time. I placed the wooden lattice directly on top of a table covered with an opened plastic trash bag. This worked well but I had to stretch the bag out and tape it very tightly, as the slightest wrinkle can leave an impression in the concrete.
Mold
Remnants of wood
Materials
Wood sealer (if needed)
Peony leaves
Spray glue
Fine concrete
Tools
Saw
Screws and screwdriver
Plastic trash bag
Square
Weights, such as bricks (if needed)
Marker pen
Mixing pail
Trowel
Plastic sheet
Instructions
- Measure and saw the wood for the mold to the required size. Any untreated wood that seems absorbent should be sealed before use. Screw the wood together well so it is as tight as possible, with at least two screws in each part (use a square to ensure 90-degree corners). The pieces of wood in the middle of the mold can usually be pressed down so they stay in place without screws.
- Rip open a trash bag and tape it so it is stretched out across a table surface. Place the mold on top. You may need weights in the corners, such as bricks, so the mold stays steady and doesn’t gape open towards the surface underneath.
- Spray-glue the peony leaves with their backs upwards (the side where the veins show most clearly) directly onto the plastic. I placed them so they formed a creeper that stretched from one tile to the next. Make a mark about 1 ½ inches (3.8 cm) up from the base on the inside of the mold, so you know how much concrete to pour in.
- Pour a few quarts (liters) of dry concrete powder into the pail. Add a little water at a time and mix until you have a very viscous past—the consistency should be firm enough to form the concrete into a ball. Pour the concrete into the compartments in the mold, up to the mark. Pack the concrete in well using the trowel so there are no air pockets. Mix more concrete as needed. Cover with a plastic sheet and leave to harden for two days. Lift the plastic and pour water on the concrete a few times during the second day.
- Remove the plastic and unscrew the mold. Carefully remove the peony leaves. Scrape the mold clean and change the plastic on the table before the next casting.
I used different types of concrete for these tiles, which is why they are of varying shades. Use frost-resistant concrete for outdoor projects.
Puzzle Piece Tile
This irregular tile was cast upside down directly onto a slick of Masonite. You can also cast it on top of a piece of sealed wood or on a durable, plastic-covered table. Remember that the surface of the tile will only be as smooth or rough as the surface used. The edges of the mold were made from flexible rubber supported by sand. You can also use a strip of veneer, a thin tray, flexible plastic, or anything else that can be shaped into a puzzle piece and can stand upright when supported by the sand.
Mold
Wood, Masonite, or durable table
Wide strip of rubber, veneer or similar
Wet sand
Materials
Wood sealer (if needed)
Fine concrete
Tools
Mixing pail
Trowel
Plastic sheet
Thin steel spatula or knife
Coarse sandpaper
Instructions
- If you are using wood that seems absorbent, it should be sealed first with wood sealer. Mold the strip of rubber into a puzzle piece shape on top of the wood, Masonite, or table and support it by packing wet sand around the outside.
- Mix a few quarts (liters) of dry concrete powder with a little water at a time until it forms a stiff paste. Pour the concrete into the mold—as a guide the tile should be at least 1 ½ inches (3.8 cm) thick if it is 12 inches (30.5 cm) in diameter. Cover with a plastic sheet and leave to harden for two days. Lift the plastic sheet and leave to harden for two days. Lift the plastic and pour water on the concrete a few times during the second day.
- Remove the rubber strip and turn the tile over. If stuck, slip in a spatula or knife and loosen it. File any rough edges with coarse sandpaper. Bury the tile down to the level of the lawn, so you easily run the lawn mower over it.


