This is an excerpt from the Book called “Step-By-Step Household Repairs“.Continue reading to learn more about Repairing Hinged Doors, thanks to the author.
When a hinged door at your house starts to act up, don’t immediately pull it off its hinges and whittle away its edges with a sanding block or a plane. Instead, with the door closed, inspect its perimeter and analyze what’s causing the problem. Often you can make the repair with the door in place by adjusting the hinges, stops, or strike plate.
Freeing A Binding Door
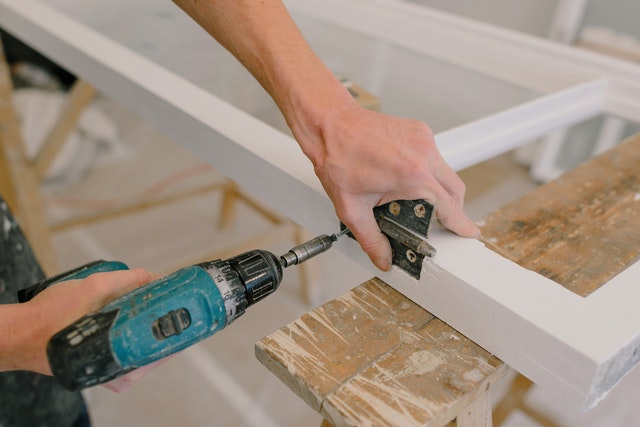
- If your door is binding near the top or bottom of the latch edge, first make sure that the hinge leaves on the door or jamb aren’t loose (turn to help with loose hinges). No problem there/ then you may be able to solve your problem by shimming out one of the hinges. Note: Shim the top hinge to cure a bind near the bottom, and shim the bottom hinge for binds near the top.
To shim out a hinge, open the door and insert a wedge beneath the latch edge for support. Then remove the screws that hold the hinge to the door jamb. Trim a piece of thin cardboard to fit the rectangular mortise on the door jamb, and insert the shim between the jamb and the hinge leaf.
2.If shimming takes care of the bind on the latch edge but causes the door to bind at the top or bottom, or if your only problem is binding at the top or bottom, pin-point the location of the trouble spot while opening and closing the door. Scribe a line along the door’s face to denote where you want to remove wood. If the bind is along the top edge, partially open the door, drive a wedge under its latch edge, and use a block plane to remove the high spot. Work from the end toward the center to avoid splintering the end grain.
- If the high spot is on the door’s bottom edge or along the hinge edge, take the door off its hinges for planning. With a hammer and a pry bar, tap up on the head of the hinge pins as shown.
Anchor the door in a floor-standing work vise. Hold it firm by wedging one end in a corner or by straddling it, and plane high spots. Then, for side planning, work a jack plane in the direction of the grain, holding it at a slight angle to the door. If you’re planning end grain at the door’s bottom edge, use a block plane and shave from the door’s ends toward the center.
Curing Strike And Latch Problems
When your door closes but won’t latch, it’s a safe bet that your latch and strike plate aren’t seeing eye to eye. Since it’s impractical to tamper with the location of the latch in the door, you must make adjustments at the strike plate in the jamb.
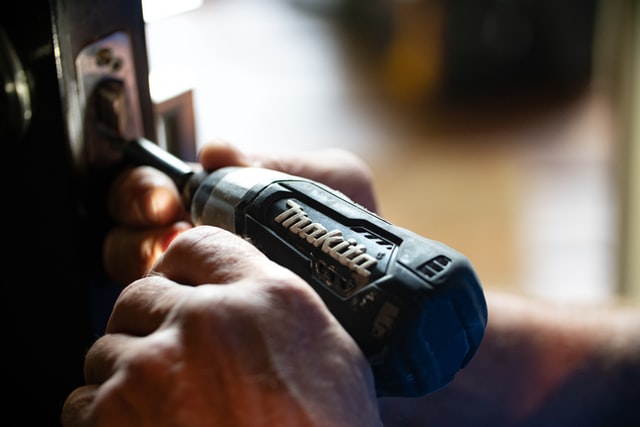
1.If your latch and strike plate aren’t engaging, examine the latch as the door closes to see which edge of the plate opening is causing it to hang up.(Scratches on the plate may already tell you.) If the two are off by no more than 1/8 inch, remove the strike plate, anchor it in a vise, and file down the appropriate edge with a flat metal file. You also may need to chisel a larger opening in the door jamb to provide clearance for the latch.
- If the latch and plate are off by more than 1/8 inch, adjust the location of the plate in the jamb. Do this by extending the mortise in the proper direction.
To do this, score the edges of the extension to the proper depth width a sharp wood chisel and a hammer. Hold the chisel perpendicular to the jamb, with its bevel toward the mortise. Now reverse the direction of the bevel and work from inside the mortise to remove the rest of the wood, holding the chisel at about 30-degreee angle.
When a latch doesn’t extend far enough into the strike plate, shim out the plate using the technique.
- Here’s what to do when your door doesn’t close far enough for the latch to engage. (This technique can also tighten the fit of a door that rattles in its frame.) Pry off the stop molding, allow the door to latch, and draw a line on the jamb to indicate where the stop molding needs to be. Reinstall the stop molding along this line. Finish the repair by painting or staining the bare ood you’ve uncovered.


